
Peanut Butter Banana Nice Cream Cones
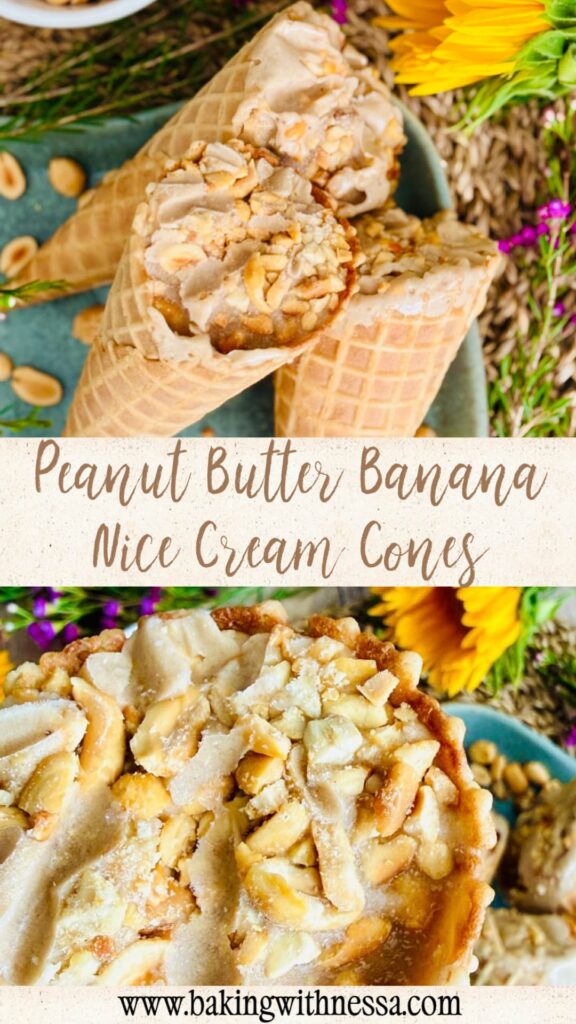
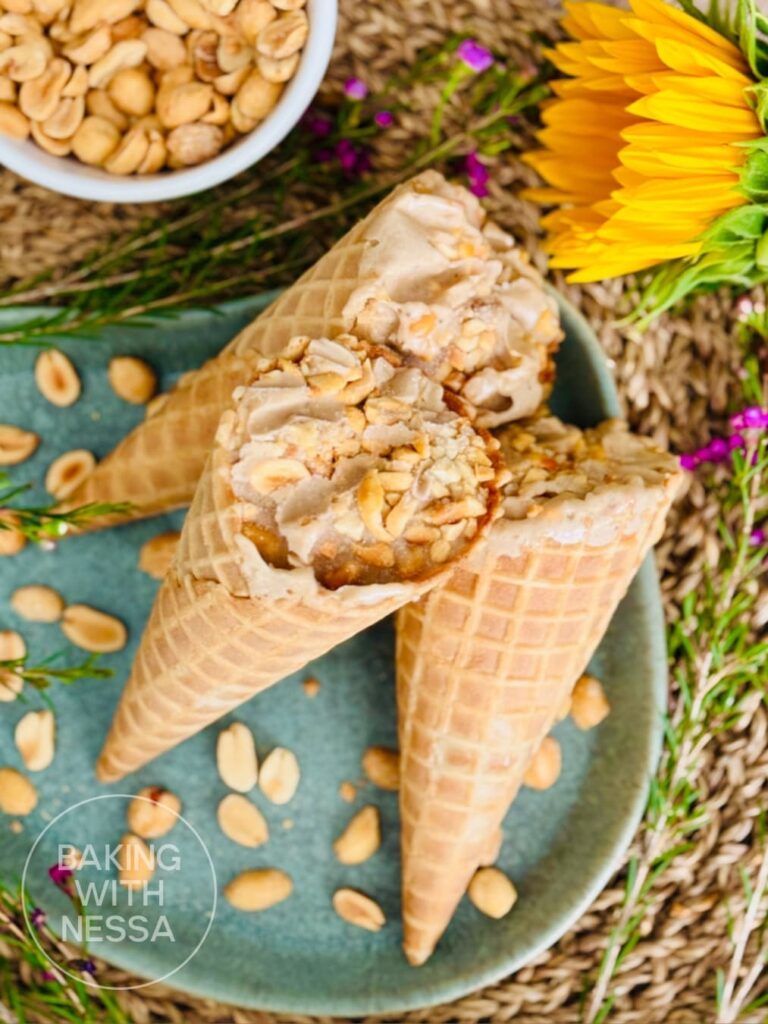
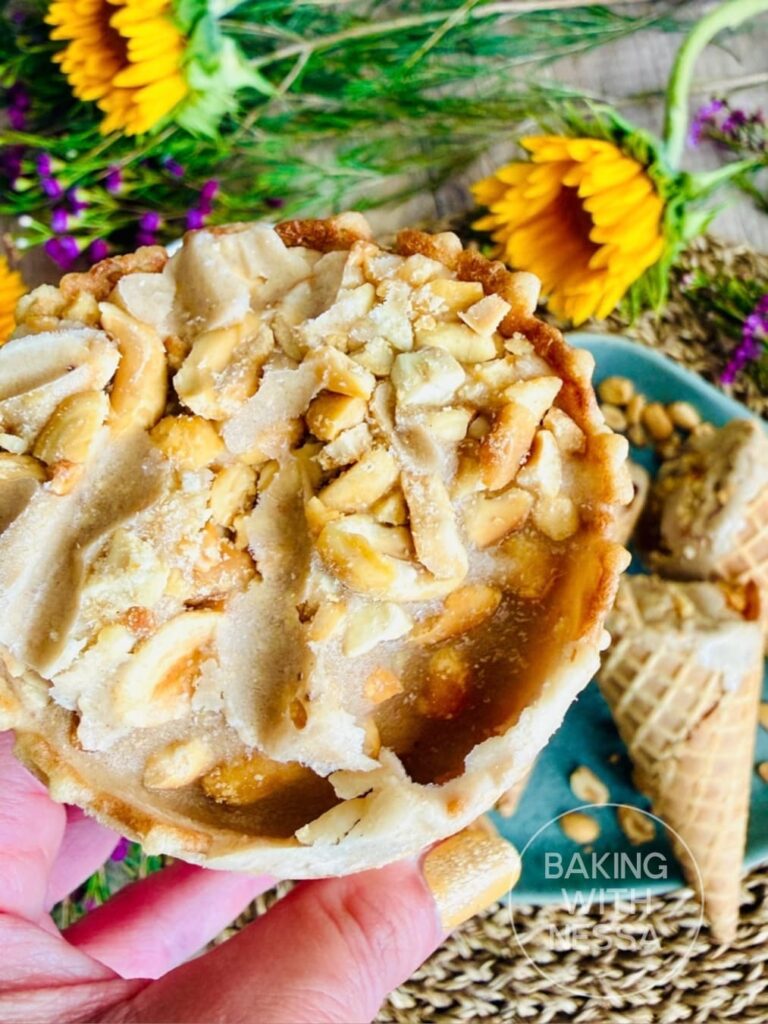
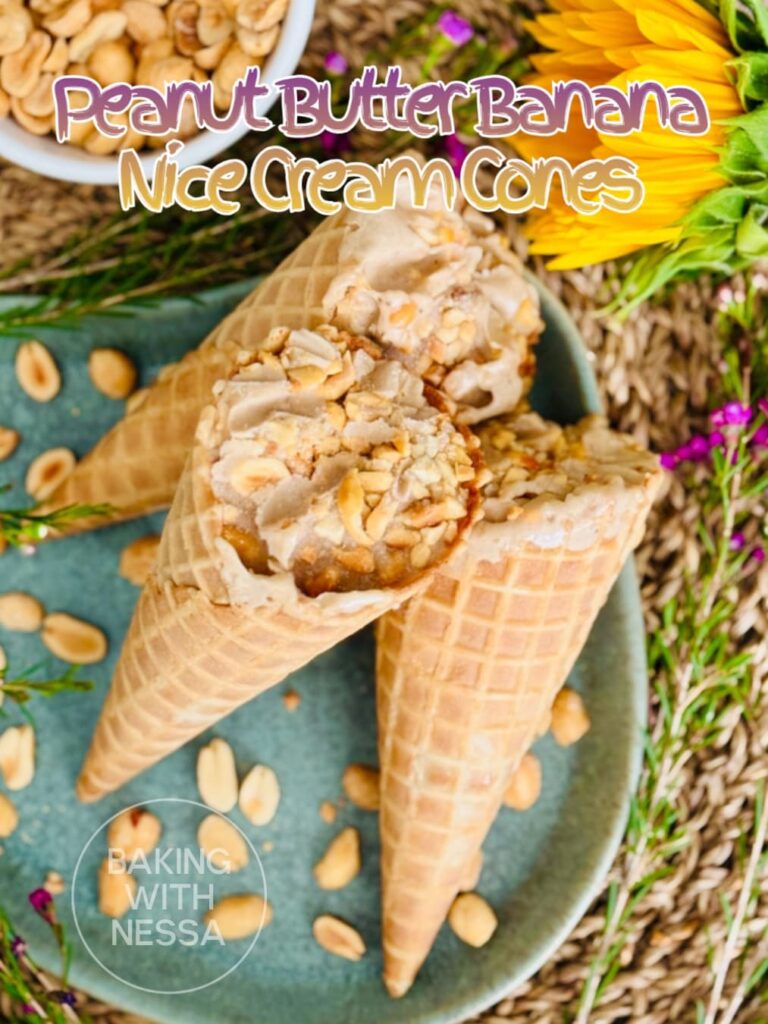
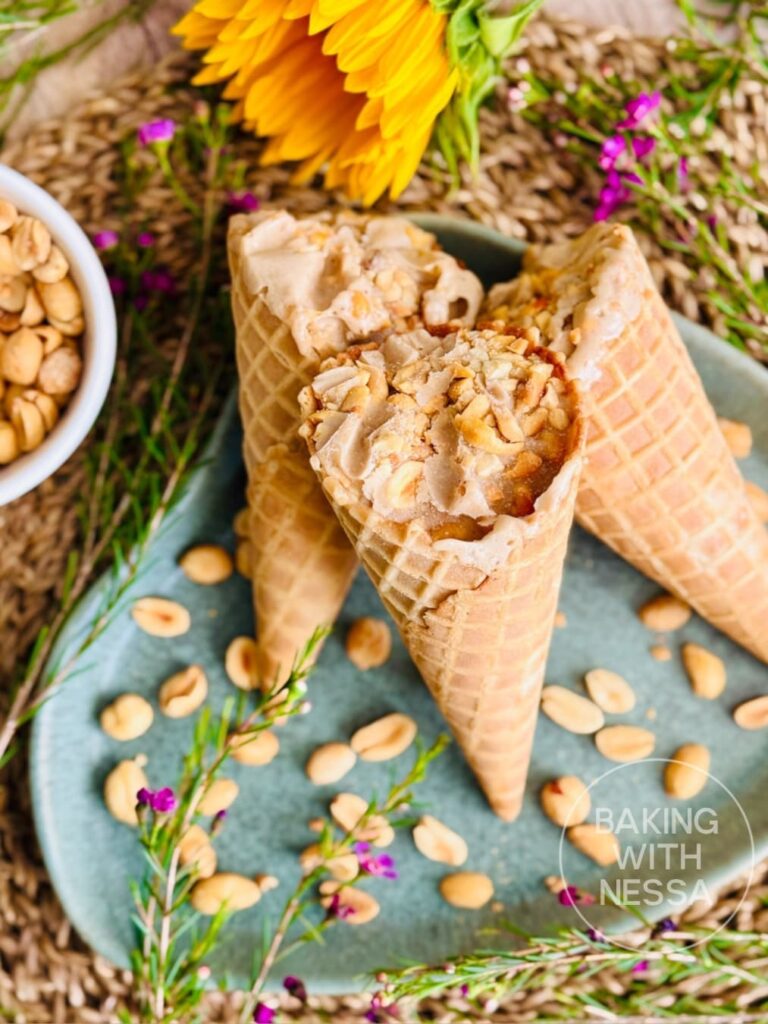
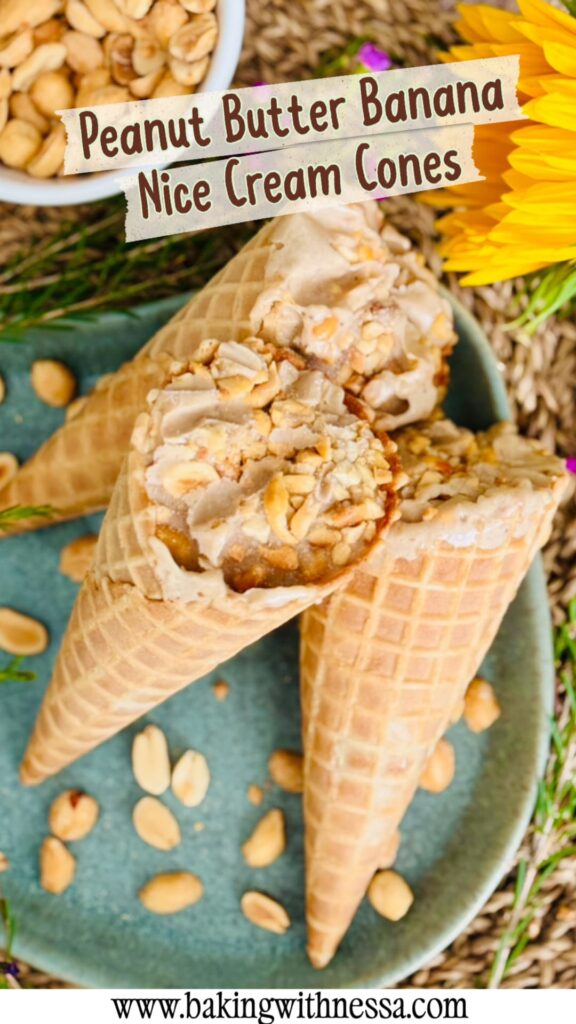
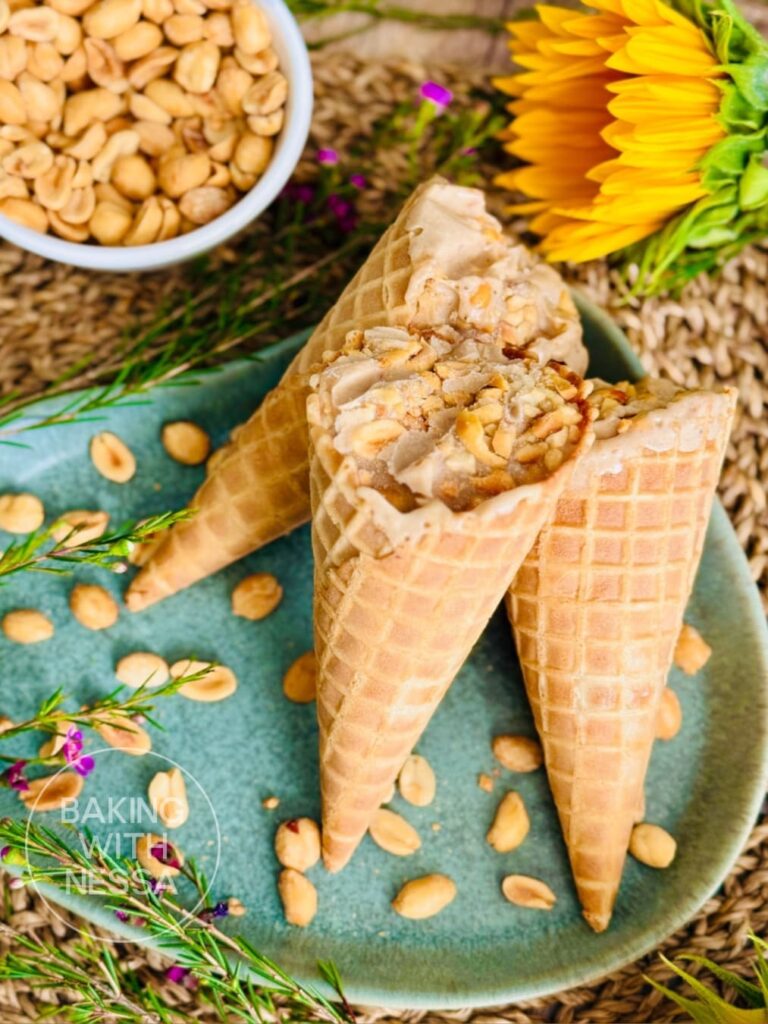
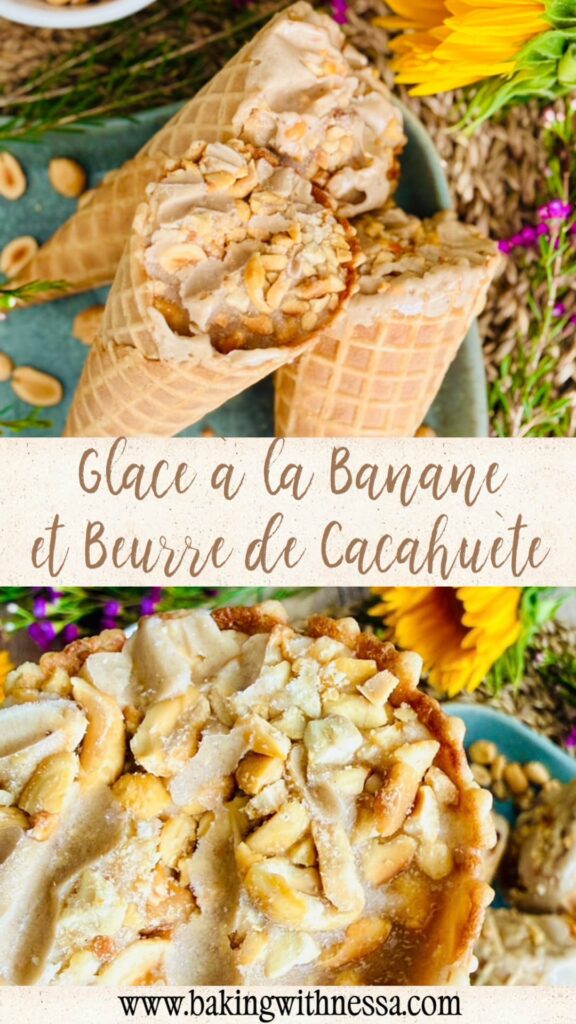
Skip the ice cream shop! These Peanut Butter Banana Nice Cream Cones are filled with creamy bananas, peanut butter, maple syrup, and crunchy peanuts, then frozen in crispy waffle cones for the ultimate healthy summer dessert. No ice cream maker needed! Save this easy no-churn banana nice cream recipe for later.
Ingredients
- 12 waffle cones
BANANA "NICE" CREAM
- 8 Bananas (Sliced | Frozen)
- 4.50 oz (125 g) peanut butter
- 5.65 oz (160 g) Maple syrup
- 2.12 oz (60 g) heavy cream (My Addition)
- 4 oz (115 g) peanuts (Crushed + Extra for topping)
Instructions
- SPECIAL NOTE: A regular blender is not impossible to use, but it is not recommended for banana nice cream because frozen bananas are extremely dense and can easily overwhelm a standard blender. Unlike smoothies, nice cream uses very little liquid, making it difficult for the blades to create a vortex. This often causes the motor to strain or overheat, leaving you with chunky pieces instead of a creamy texture.For the best results, use a food processor or a high-powered blender, which are designed to handle thick frozen mixtures. If using a regular blender, allow the bananas to thaw for 5–10 minutes first, blend in small batches, and stop frequently to scrape down the sides and prevent overheating.
FREEZE THE BANANAS
- Slice the bananas into 1/2-inch | 1 cm rounds and freeze them for at least 4 hours, or preferably overnight, until completely solid.8 Bananas
NICE CREAM PREPARATION
- Add the frozen banana slices, peanut butter, maple syrup, and heavy cream to a food processor or high-powered blender.Blend, stopping every 20–30 seconds to scrape down the sides as needed. The mixture will first look crumbly, then clumpy, before turning into a thick, smooth, soft-serve consistency. Be patient and avoid adding extra liquid unless absolutely necessary.4.50 oz peanut butter, 5.65 oz Maple syrup, 2.12 oz heavy cream

- Fold the crushed peanuts into the preparation.NOTE: The preparation is quite liquidy, that perfectly normal. As nice cream typical hardens quite a bit when frozen, adding a little bit of cream helps keeping a texture close to ice cream.4 oz peanuts
ASSEMBLY
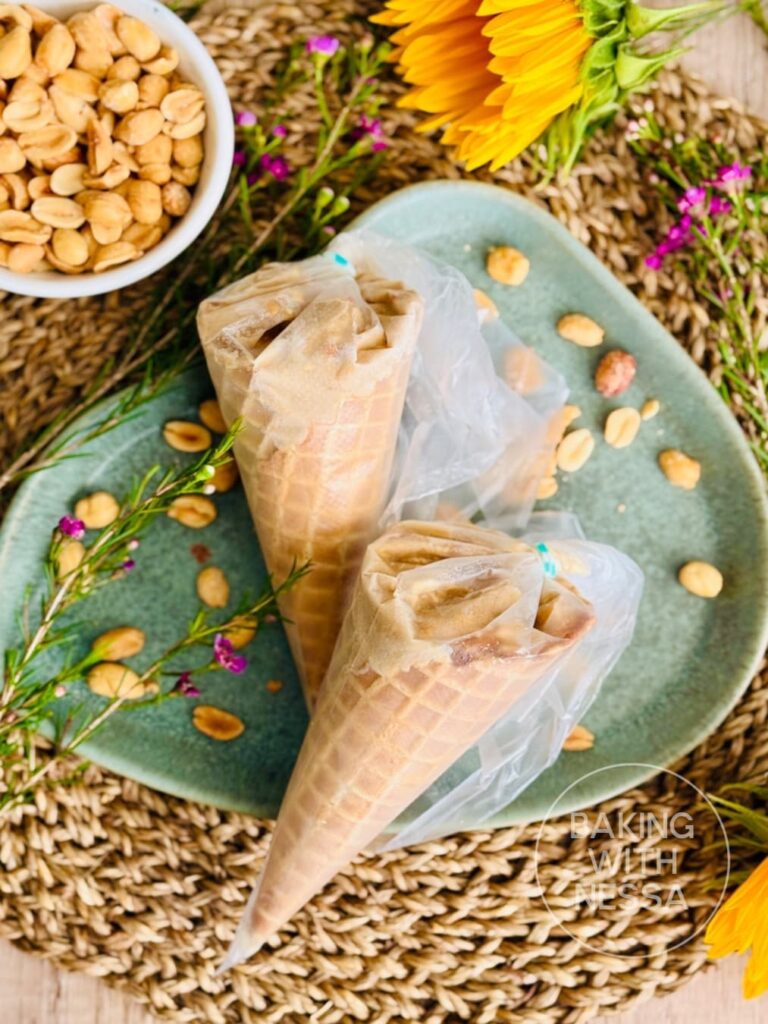
- Place each cone into a single piping bag.12 waffle cones

- Holding the cone, scoop the nice cream mixture into the prepared waffle cones, filling each one to the top.Sprinkle generously with crushed peanuts. Then, twist and secure the top tightly.NOTE: This helps prevent any spills and keeps the cones upright to allow them to be stored flat in the freezer without taking up much space.

- Freeze for 24 hours, until the ice cream is fully set and firm.NOTE: I tried it first at the 8-hour mark ; the ice cream was nice but not as delicious as 24 hours later. It is worth the wait!They are good up to 2 weeks. Serve frozen. Enjoy & Bon Appétit!

Photos
Nutrition
Calories: 281kcal | Carbohydrates: 39g | Protein: 7g | Fat: 13g | Saturated Fat: 3g | Polyunsaturated Fat: 3g | Monounsaturated Fat: 5g | Cholesterol: 6mg | Sodium: 81mg | Potassium: 461mg | Fiber: 4g | Sugar: 21g | Vitamin A: 124IU | Vitamin C: 7mg | Calcium: 41mg | Iron: 1mg
Have You Made This Recipe?Be sure to send me your photos I would love to share them on the blog: bakingwithnessa@hotmail.com